When I first walked into this property, my first reaction was "It's kinda tight, small and dark" (like a snobbish person would react ![]() ). I have valid reasons to back up my snobbish reaction, as I explain below. I will also list all the things that I changed/updated for this property and the total renovation cost.
). I have valid reasons to back up my snobbish reaction, as I explain below. I will also list all the things that I changed/updated for this property and the total renovation cost.
As the title of this article stated, I turned a decent closed floor plan into a beautiful open floor plan. After the renovation, the property is completely opened, bright and airy. It looks like something from a magazine, but that's just my opinion ![]() . You can judge for yourself after you see the after photos below and all the things I did to it.
. You can judge for yourself after you see the after photos below and all the things I did to it.
The property at its current state was not bad at all. I like the huge game room upstairs, the nice pergola in the backyard, the family room is quite a good size, the kitchen isn't too bad (just needed to be updated), the bedrooms are also a good size, the upstairs bathroom is a good size, but the master bedroom was a little small for a master bedroom (I like my master bedroom big ![]() ). I will post photos below.
). I will post photos below.
Overall, the property is not small. It's a cute, two-story 2250 sq ft, 4 bedrooms (master downstairs and 3 bedrooms upstairs), 2.5 baths, 1 family room, and a huge game room.
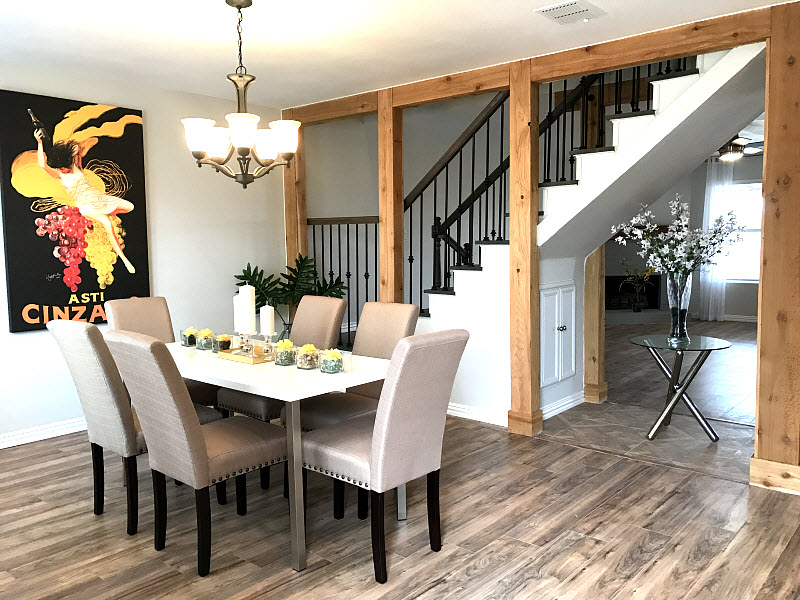
From the entrance, to the left is the dining room that separates itself from the family room with a wall, which is the stairway wall. To the right, across the dining room, is a wall where the laundry room is located, and a long narrow hallway to the half bath and the master bedroom. From the entrance, you cannot see the living room or the kitchen. All you see is straight ahead to the back of the house. Here's a photo of the dining room:
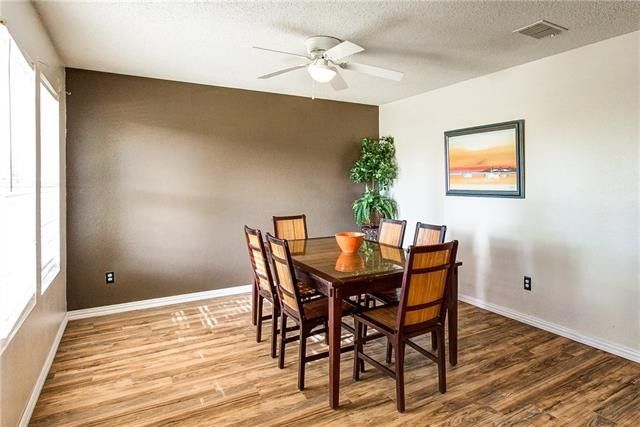
Dining Room
The wall with the picture frame is where the hidden stairs is situated, and the family room is on the other side of the stairs. So basically, the stairs, with under stairs storage, is hidden between the dining room and the family room. Family room photo is down below. I absolutely did not like where the stairs was situated, or the design of it, but this property is going to be a rental, it has good bones, the asking price wasn't bad and I can change whatever that I didn't like :). The stairs is carpet and enclosed by two walls, wasn't attractive at all. Notice the popcorn ceiling and the ceiling fan. Popcorn ceiling and ceiling fan in a dining room??? Not a "fan" of these at all! Lol..get it.."fan"? Okay, never mind. Maybe that wasn't funny.
If you walk pass the dining room and the hidden stairs, you have the family room to the left and the kitchen to the right. It's a semi-opened kitchen/family floor plan. Then from the kitchen, you have the door to the backyard.
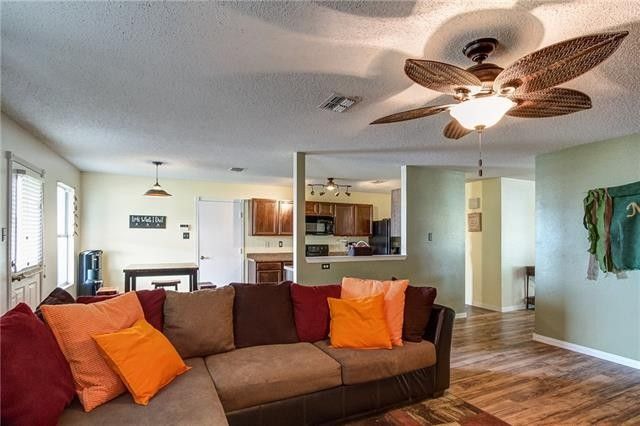
Family Room & Kitchen
The wall with a green/blue hanging fabric is the wall of the stairs. The ceiling is not vaulted, as you can see. Again, notice all the those popcorn ceiling! There is no vaulted ceiling inside the house and the fixtures were too bulky for the interior. Notice the bulky ceiling fan? Not a "fan" of that fan either, hehe. That fan is something you put in the backyard.
All the closed walls, the standard ceiling and bulky fixtures cause the interior to look like it's tight, small and dark. It's dark for two reasons. Reason 1, there are not too many windows and the walls are blocking the natural lights from going through the family room from the dining room and vice versa. Reason 2, there are too many brown in the house.
Here's another photo of the family room:
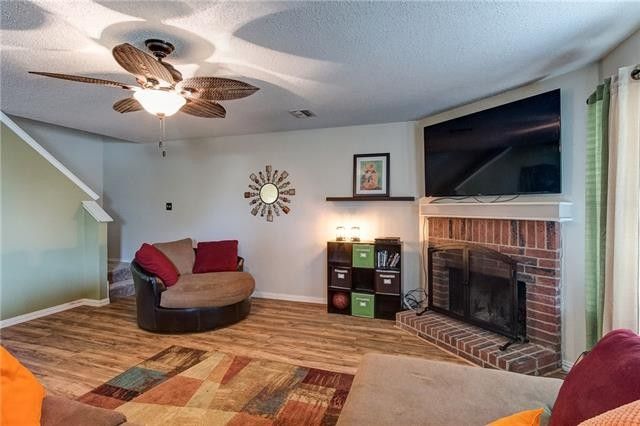
Family Room
See the stairs behind the round leather chair? It's pretty hidden away. Now, lets have a closer look at the kitchen. It's a gallery kitchen:
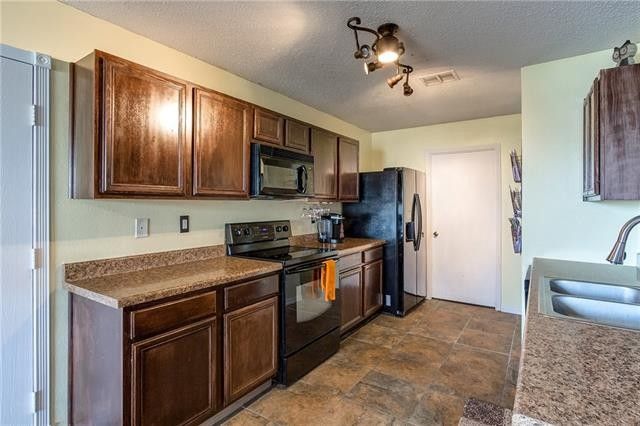
Kitchen
The cabinets are in great shape. I just don't like the dark color. I also do not like the brown mica for the counter top and black appliances. Dark cabinet color with dark counter top coupled with black appliances make the kitchen look dark and smaller than it is.
More popcorn ceiling. Look at the light fixtures. What is that?! It's shining on an empty dark wood cabinet! I didn't realize that those lights can be put in the kitchen! I guess it's better than having a ceiling fan in the kitchen (which another of my rental has), or maybe not. Maybe ceiling fan in the kitchen is good, to blow the smell away. But blow where, to another part of the house?!
Anyhow, back to the kitchen. Here's the other side of the kitchen.
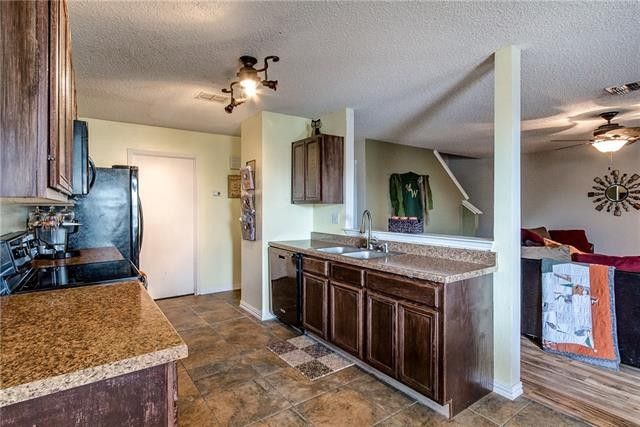
Kitchen Sink/Island
Alright, now that you know how the first floor looks like, I will list all the things that I updated for the first floor. After photos will be posted as well.
First, the Dining Room:
- Removed the drywall on the wall with the picture frame so that the stairs are exposed
- Replaced the light fixture
- Removed the popcorn ceiling and repainted with a white color
- Repainted the walls to a very light gray, semi-gloss
And viola....
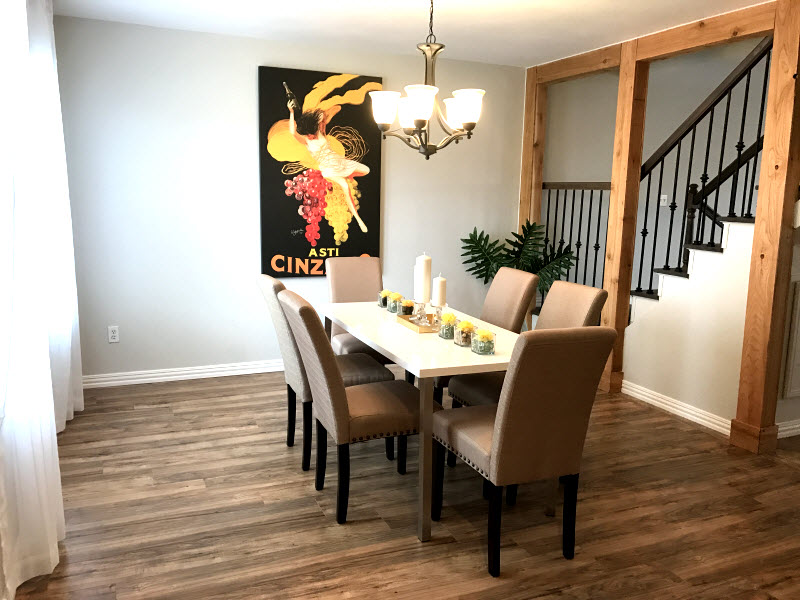
Dining Room - After Renovation
Updates I did to the stairs:
- Transformed the stairs into a floating stairs by removing most of the wall below the stairs, leaving some part for a small storage for such things as kids toys, shoes, etc
- Added wood covers to the stairs support columns to add dimensions and also served as a frame for the accent piece under the floating stairs
- Removed the old carpet
- Painted the stairs in a semi-gloss snow white color and contrasted it with a stain of a very dark wood for the steps
- Added metal banisters
- Added designs to the base of the stairs, which you cannot see from the photos
- Added a design to the area underneath the floating part of the stairs
- Rewired the light switches and electrical plugs to be placed behind one of the columns
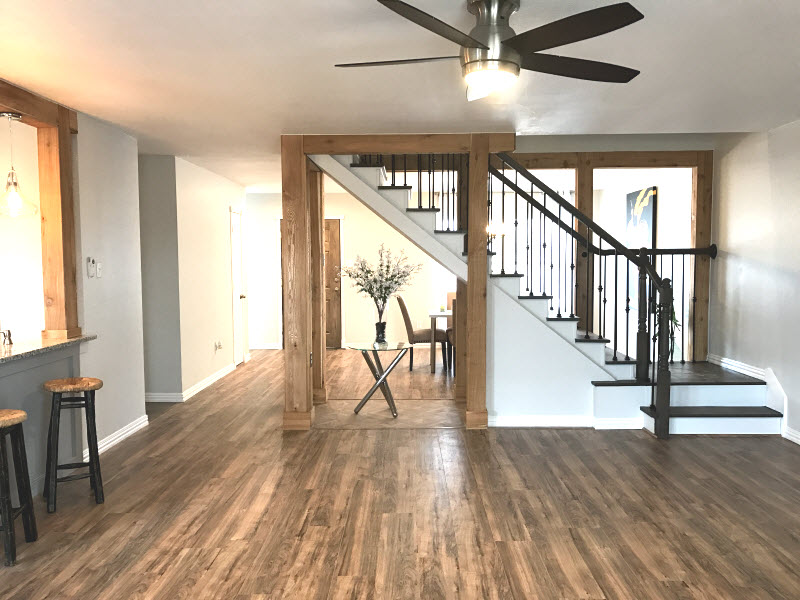
Here is the view as you open the front door:
View From Front Door
From the outside looking in through the dining room windows, you see this beautiful accent stairs.
Updates I did to the Family Room:
- Removed the drywall that enclosed the stairs to expose the stairs
- Removed all the popcorn ceiling and repainted with a white color
- Repainted the walls with a light gray color, semi-gloss
- Repainted the red brick fireplace to a medium gray and replaced the mantel with a wood mantel to tie in with the stairs
- Replaced the ceiling fan with a modern ceiling fan
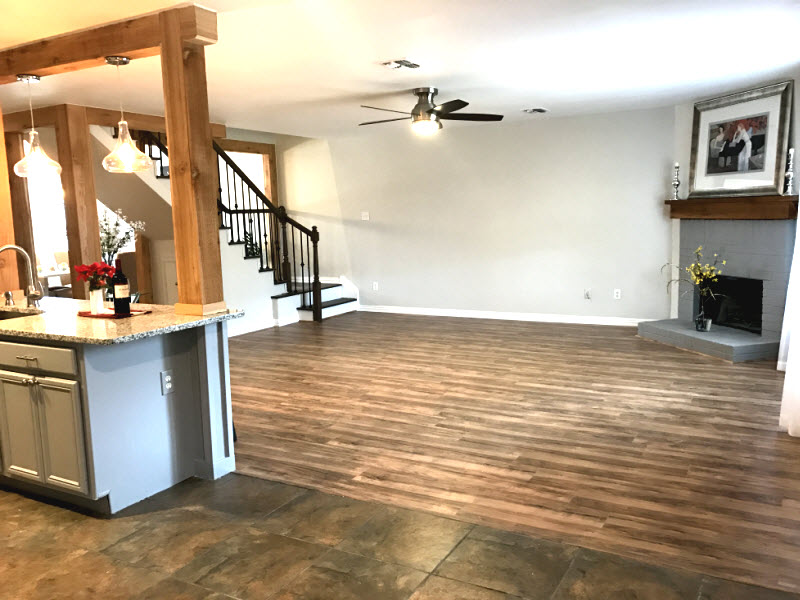
Here are photos of the family room:

View of stairs from Family Room - After Renovation
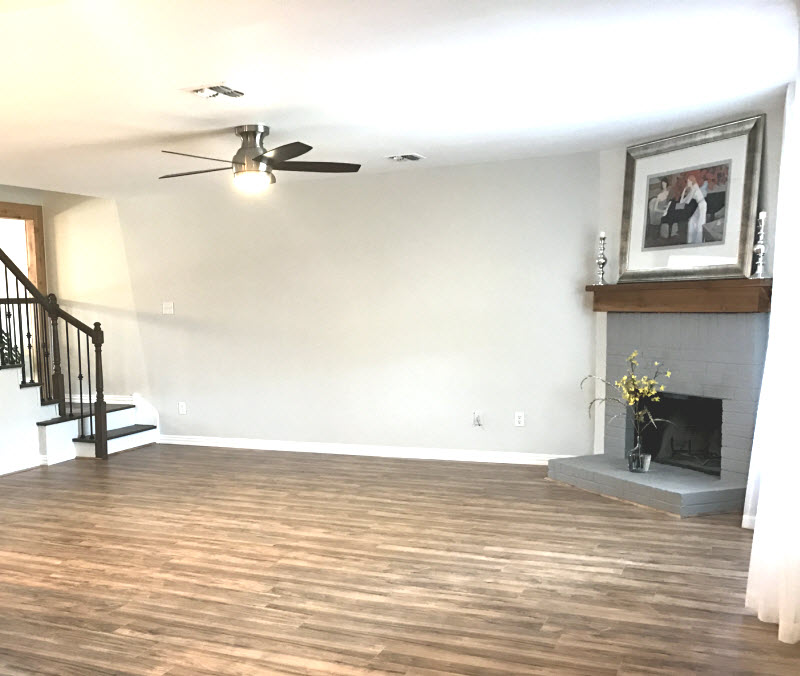
Family Room with Fireplace
The family room is now bright and airy from the lights and natural lights from the dining room.
Now... to the Kitchen:
- Repainted all the cabinets, including the island, with a semi-gloss medium gray and added new modern hardware
- Added white/grayish backsplash
- Added white/black granite counter top
- Leveled the island to one level to make it more opened and made the island wider and longer
- Added wood covers to the support columns to add dimensions and to tie in with the columns of the stairs
- Removed the weird light fixtures and replaced with two recess lights
- Added two pendant lights to the island
- Removed all the popcorn ceiling and repainted with a white color
- Replaced sink with new, modern sink
- Replaced faucet
- Replaced all appliances with brand new stainless steel appliances
- Rewired the light switches and electrical plug to the side of the island
- Repainted the walls with a light gray color, semi-gloss
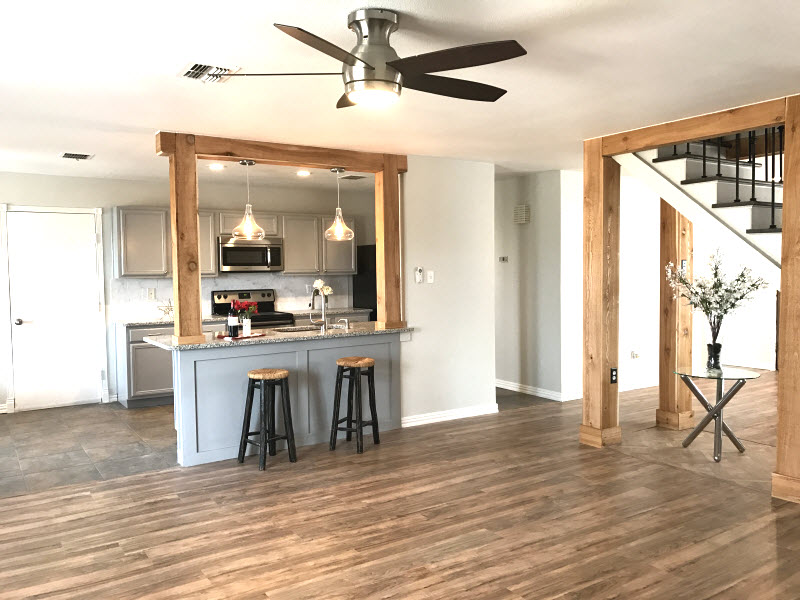
Here are the photos of the kitchen:
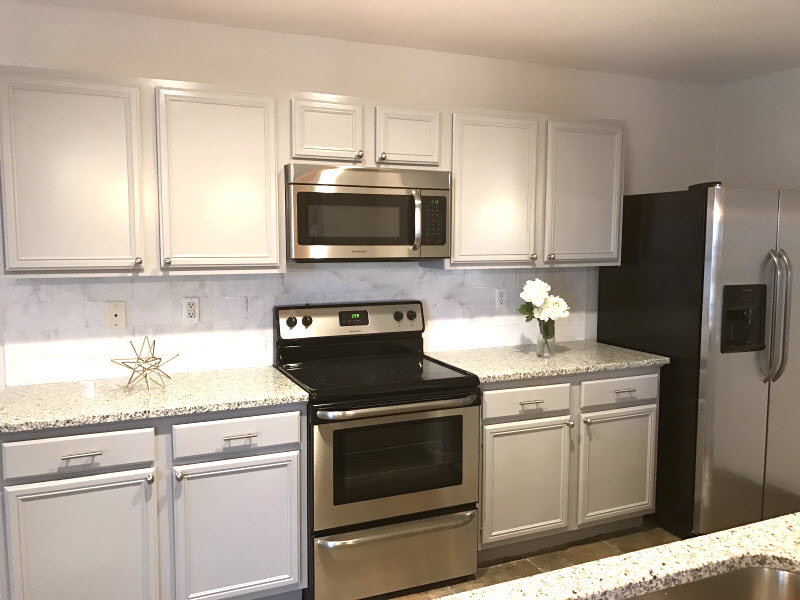
Kitchen - After Renovation
The cabinets color doesn't look like a medium gray because of the all the lights coming from the recess lighting and the two pendant lights we put in the kitchen to have a bright kitchen.
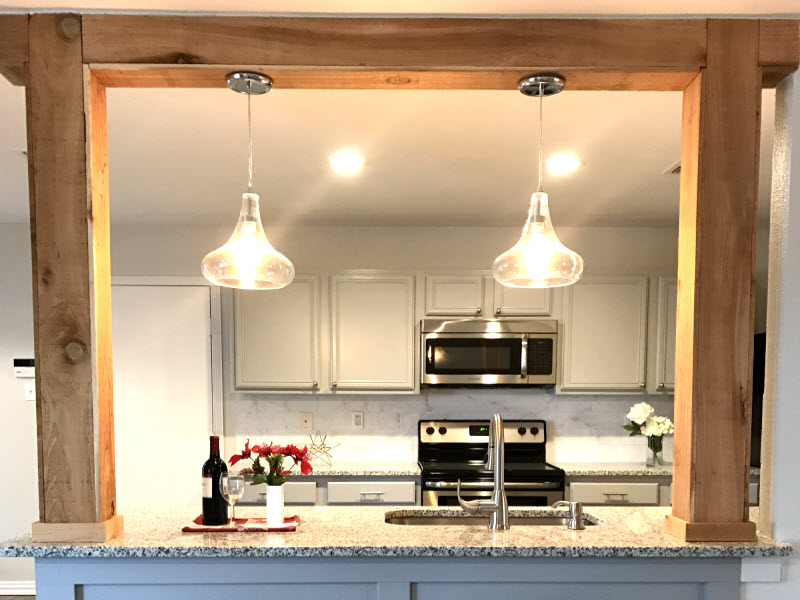
Kitchen Sink/Island
Here's a photo from the breakfast nook looking into the family room:
View of Family Room from Breakfast Nook
Here's a full view of the kitchen looking from the back of the family room. Notice how we tied the kitchen and the stairs together with the same wood columns:
Kitchen/Family Room
And finally, the full view of the kitchen/family room/dining room from the back of the house:
Full view from the back of the house
I also did some updates to the master bedroom and master bath. However, since the article is getting way too long, I am just going to list all the things I did to those. I will post a photo of the master bathroom so you can see how it looks like after the renovation. I will also disclose the total cost of the renovation.
As I had a budget for the renovation to keep me from going overboard, I didn't do a complete transformation of the master bathroom. I also had the second floor to update :).
I'll start with the Master Bedroom:
- Removed all the popcorn ceiling and repainted with a white color
- Repainted the walls with a light gray color, semi-gloss. The previous color was a light yellow
- Removed the bulking ceiling
Now the Master Bath:
- Removed all the popcorn ceiling and repainted with a white color
- Repainted the walls with a light gray color, semi-gloss. The previous color was pastel blue
- Replaced light fixtures
- Replaced the mirror with two modern vanity mirrors
- Repainted the cabinets with a semi-gloss medium gray
On up to the 2nd floor:
- Removed all the popcorn ceiling throughout the 2nd floor and repainted with a white color
- Repainted the entire 2nd floor with a light gray color, semi-gloss
- Repainted the bathroom cabinets with a semi-gloss medium gray to tie in with the downstairs master bathroom
- Replaced the vanity mirrors in the bathroom with a modern mirror
- Replaced bathroom light fixtures
- Replaced the ceiling fans in the game room and one of the three bedrooms
Here's a picture of the master bathroom after the renovation:
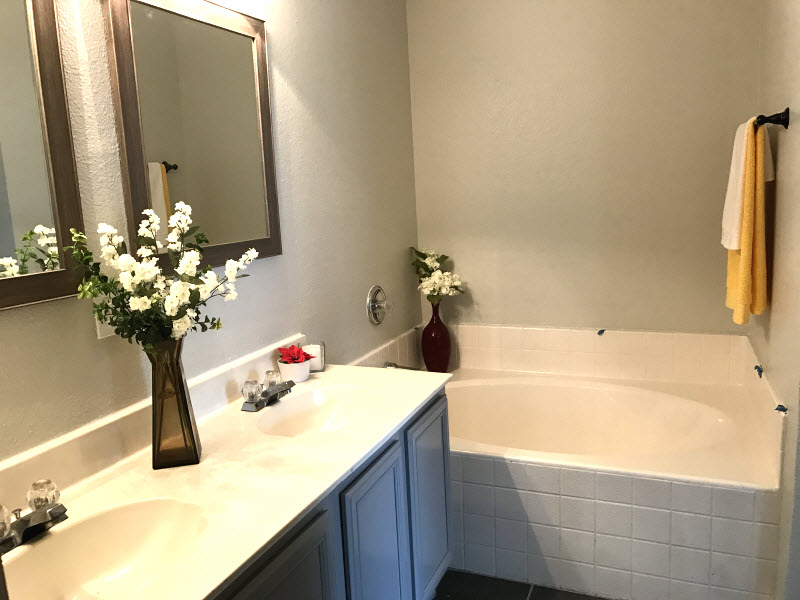
Master Bathroom..I forgot to remove the blue tape on the bathtub lol
So there you have it, another good renovation project. The total cost of the renovation including labor, paint, materials and all brand new stainless steel appliances was about $17,000.00. The cost was a little higher than I expected but it's not too bad.
The day that I listed this property, I received so many emails. One family wanted to sign the lease and put down the security deposit even before seeing the property, and that family was the one we went with.
Many people have asked me why I spent so much money renovating properties that are ready for immediate move in. The reason is because I want good, long-term tenants who love where they live and will take care of the nice things that I put into the property. The renovations I do make it seem like it is the tenant's home, very cozy and customized, and not just a rental. Those tenants who can appreciate the beauty and enjoy seeing the nice things you put in the property are those who will stay long term and will take care of the place as their own. They want to show off to friends and family the kind of house they live in.
I hope you enjoyed the article. Have a good one!
For those who are interested in the decor, light fixtures, materials, etc that I used throughout this project, below are related products.

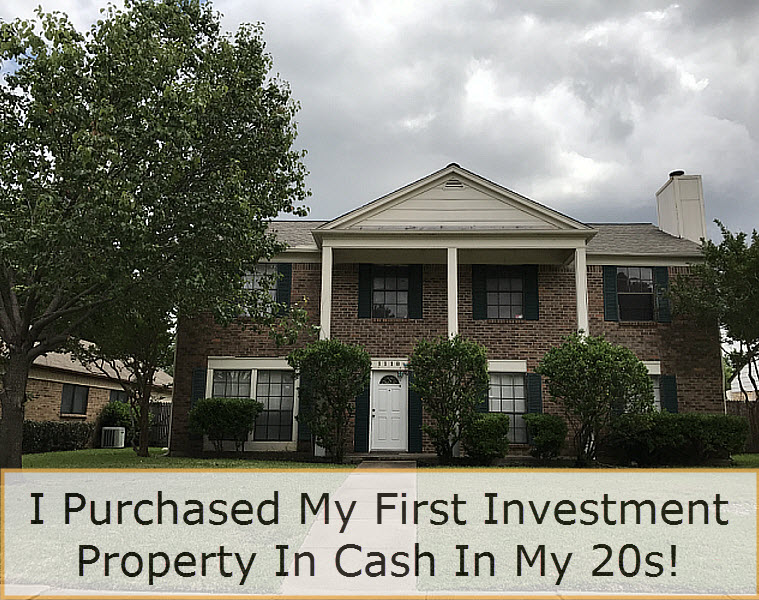
Hey, Welcome! I am Thuy. I learned how to live frugally and saved money during my early 20s and purchased my first investment property in cash. I also invest in stocks, ETFs and Mutual Funds.